The Most common culprit for a Rad Power Bike that won’t turn on is the display components that are loose or disconnected. These vital parts are the gateway between you and your bike’s electrical system, allowing you to control the pedal-assist modes and monitor battery levels. If you encounter a blank screen or unresponsive buttons, it’s likely time for a display component replacement.
When my Rad Rover 6 bike wouldn’t start, it turned out to be the display and pedal sensor. After replacing them, everything returned to normal. However, remember that other issues may cause this problem, so your situation could vary. Always consider different causes and potential fixes.
In this article, I will review the most common causes of the Rad Power Bike not turning on. I’ll also explain how to fix these problems yourself. By the end of this article, you’ll know how to troubleshoot your Rad Power Bike and get it back up and running.
Skip To Section Here
Troubleshooting Issues With Rad Power Bike Not Turning On
If your Rad Power Bike is not turning on, here is a step-by-step guide to troubleshooting the problem:
Step 1: Check the battery
Check to ensure your e-bike’s battery is charged and connected correctly, or try switching out batteries to see if that fixes the issue.
Step 2: Check the display
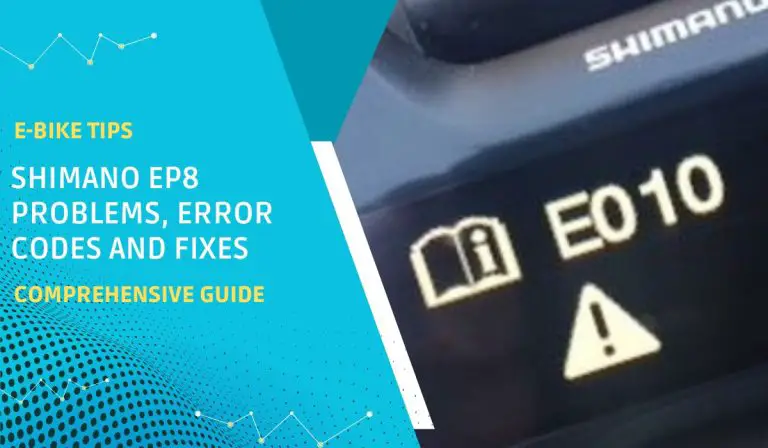
Displays provide users with information such as battery levels, pedal assist levels, and other relevant details. If they stop working correctly, cycling may become impossible. Disconnect and reconnect the display connector to see if that works.
Step 3: Check the wiring harness
Wiring harnesses connect all of the electrical components on a motorcycle. If it becomes damaged, this may prevent it from starting correctly, so check it for signs of wear and tear! Inspect the wiring harness regularly for signs of any possible wear.
Step 4: Check the controller
When the controller fails, it could result in your bike not turning on. If all other components appear normal and nothing seems amiss, it could be that your controller is responsible.
Step 5: Reset the bike
If the bike still doesn’t start up, try to reset it. To do this, disconnect and unplug its battery while holding down on MODE for 10 seconds until all batteries have been installed anew, and then try starting up your bike again.
Step 6: Contact Rad Power Bikes Support
If all else fails and your bike still won’t start, contact Rad Power Bikes’ support, and they can assist with troubleshooting further.
Potential Causes of the Issue
These are the most common reasons why your rad power bike won’t turn on.
- Low Battery Charge
- Damaged Battery
- Loose Controller Connection
- Software Glitches
Tested Tips To Fix A Rad Power Bike That Won’t Turn On
In this section, we’ll discuss the tested tips to fix your Rad Power Bike that won’t turn on:
1. Charge Your Battery Fully and Ensure It’s Fixed Properly
Sometimes, your Rad Power Bike may not turn on for something as simple as a low battery or a battery that’s not inserted properly. Your battery may not be inserted properly due to a number of reasons.
While you may have already checked this, it is imperative that you tick them off the list before moving to other fixes in this article.
2. Check For Damaged battery
If you suspect your Rad Power Bike battery has been damaged, there are a few things you can do. First, try charging it; if it is not physically damaged, it may still hold a charge after being charged for some time.
Replacing it may be the answer if your battery fails to hold a charge. Rad Power Bikes sells replacement batteries, which can be found at third-party retailers.
If you have confirmed that your battery has become damaged, contact Rad Power customer support for assistance. They can assist in troubleshooting and determining if you need to buy new batteries.
3. Loose Controller Connection
The controller of a Rad Power Bike serves as its brain, controlling power output from its motor. If any loose connections exist between the controller and the bike, it could prevent ignition.
To check whether the controller connection is loose, follow these steps:
- Turn off and disconnect your bike’s battery before finding its controller connection near the bottom.
- Locate the controller connector near its location on your bike’s frame.
- Inspect this connector visually for any signs of damage before moving forward.
- Gently wiggle the connector to see if it has become loose.
If the controller connection is loose, tighten it with a screwdriver, and if that does not resolve it, contact Rad Power Bikes for assistance.
Solutions for loose controller connections
If your controller connection is loose, there are a few solutions to address it:
- Tighten it using a screwdriver.
- Replace the connector.
- Contact Rad Power Bikes for assistance.
4. Software Glitches
With Rad Power Bikes, you can face some software glitches that prevent it from turning on, like software update failure, corrupted software, and firmware glitches.
If a software update does not install correctly, it could cause your bike to malfunction. While this is usually rare, if it does occur and you suspect a software update has failed, it is recommended that you uninstall and reinstall.
Your Rad Power Bike may become corrupted if it’s exposed to a power surge. If this is the case for your bike, you’ll have to reset it to factory defaults to restore functionality.
Resetting the Rad Power Bike
If your Rad Power Bike won’t start up, it could be due to software-related issues. In such instances, try resetting it and see if that helps solve the issue.
Resetting the RadRunner
To reset a RadRunner, follow these steps:
- Turn off the bike.
- Remove the battery.
- Press and hold the MODE button on the display.
- While still holding the MODE button, plug the battery back in.
- Hold down the MODE button for 10 seconds to activate Mode mode.
- The display will then show “RESET”, and your odometer will be reset back to 0.
Resetting the RadCity
To reset a RadCity, follow these steps:
- Turn off the bike.
- Remove the battery.
- Press and hold the UP button on the display.
- While still holding the UP button, plug the battery back in.
- Hold down the UP button for 10 seconds.
- The display will then show “RESET”, and your odometer will be reset back to 0.
Resetting the RadRover
To reset a RadRover, follow these steps:
- Turn off the bike.
- Remove the battery.
- Press and hold both MODE and UP buttons simultaneously on the display while still holding both. Finally, plug back in the battery.
- Hold onto both buttons for 10 seconds before releasing.
- The display will show “RESET”, and then reset to 0.
Maintenance Tips to Prevent This Issue
Here are some maintenance tips to keep your bike functioning optimally:
- Regular Maintenance
One of the best ways to prevent your Rad Power Bike from not turning on is to keep it properly maintained. This includes:
- Charging the battery regularly.
- Checking the battery connections for any damage or corrosion.
- Cleaning the bike regularly, both inside and out,
- Lubricating the moving parts
- Inspecting the Bike Regularly
In addition to regular maintenance, it is also important to inspect your Rad Power Bike regularly for any signs of problems. This includes:
- Checking the tire pressure.
- Inspecting the brakes for wear.
- Checking the chain for wear and lubrication.
- Inspecting the wiring for any damage.
Conclusion
I know how frustrating it can be when your bike is not working properly, so I hope this article has helped you troubleshoot your Rad Power Bike that is not turning on or get it back up and running. If you have followed the steps above and your bike is still not turning on, you will need to contact Rad Power Bikes customer support for further assistance.


